Why just engrave when you can make your item really stand out.
When you think of decorating a glass or crystal product, most people don’t go beyond a vision of engraving. This traditional technique turns a plain product into something more personal, either for an individual or a company, and adds perceived value to the item. For example, when you visit a luxury hotel and order your whisky, if its presented to you in a glass that has the hotel’s logo engraved into it your perception of quality increases compared to if it was served in a plain glass.
But with new technology, and a bit of artistic flair, there’s now a number of different techniques you can use to convey your message, promote your brand and create a memorable impression on your target audience. For even more impact you can also combine techniques and create something that is unique for your customers.
Available techniques
The techniques below are all available for glass, crystal and some acrylic products. Some are more appropriate or less suitable for different products, our customer service team can tell you what’s best for the products you’ve chosen or help you select products to suit the decoration.
Sand engraving
The most traditional way of decorating products. Sand is blasted at high pressure onto the glass to remove a fine layer, leaving your chosen pattern visible on the product.
Etch effect
Sometimes also called inverse engraving, this method involves putting a transfer onto the glass that makes it look like it’s been sandblasted.
Infill
This technique allows you to add small areas of colour to your product and is usually used with metallic such as gold and silver. The glass is sandblasted to a deeper level and the resulting engraved area is filled in with your chosen colour. Infilled engraving can look stunning when it’s combined with coloured glass.
Colour
For larger areas of colour, we recommend this technique. The colour is effectively printed onto the product which is then fired in a kiln. It’s possible to pantone match colours depending on product and firing techniques, so ask the artwork team if this is possible for your design. If a product is going to be washed, e.g. glasses, bowls and bottles, its best to fire the products on a higher heat but the colours that will withstand this heat without changing are limited.
The main disadvantage to this technique compared to the full colour print described below is the time involved. Each colour needs to be printed onto the glass one at a time and it takes up to a day for that coat to dry. This means an item with five colours would need seven days to complete (a day each per colour, one for the final cover coat and one for firing).
Full colour
If you’ve got a complex image or want to cover a large area with colour then it’s best to use our full colour UV printing technique. This works just like your normal office printer where the image is printed directly only the product. You can print onto any product with a flat surface up to 49mm thickness.
Sub surface
You can recreate both 2D and 3D shapes inside of glass using this form of laser engraving. It works by fracturing tiny dots within the glass which are built up to create the image. We’ve recently upgraded our machines so we can now engrave on items with at least one flat surface up to a maximum of 49mm thick, greatly increasing the number of products that are available for 3D engraving. The technique looks visually stunning and has a high level of perceived quality for recipients.
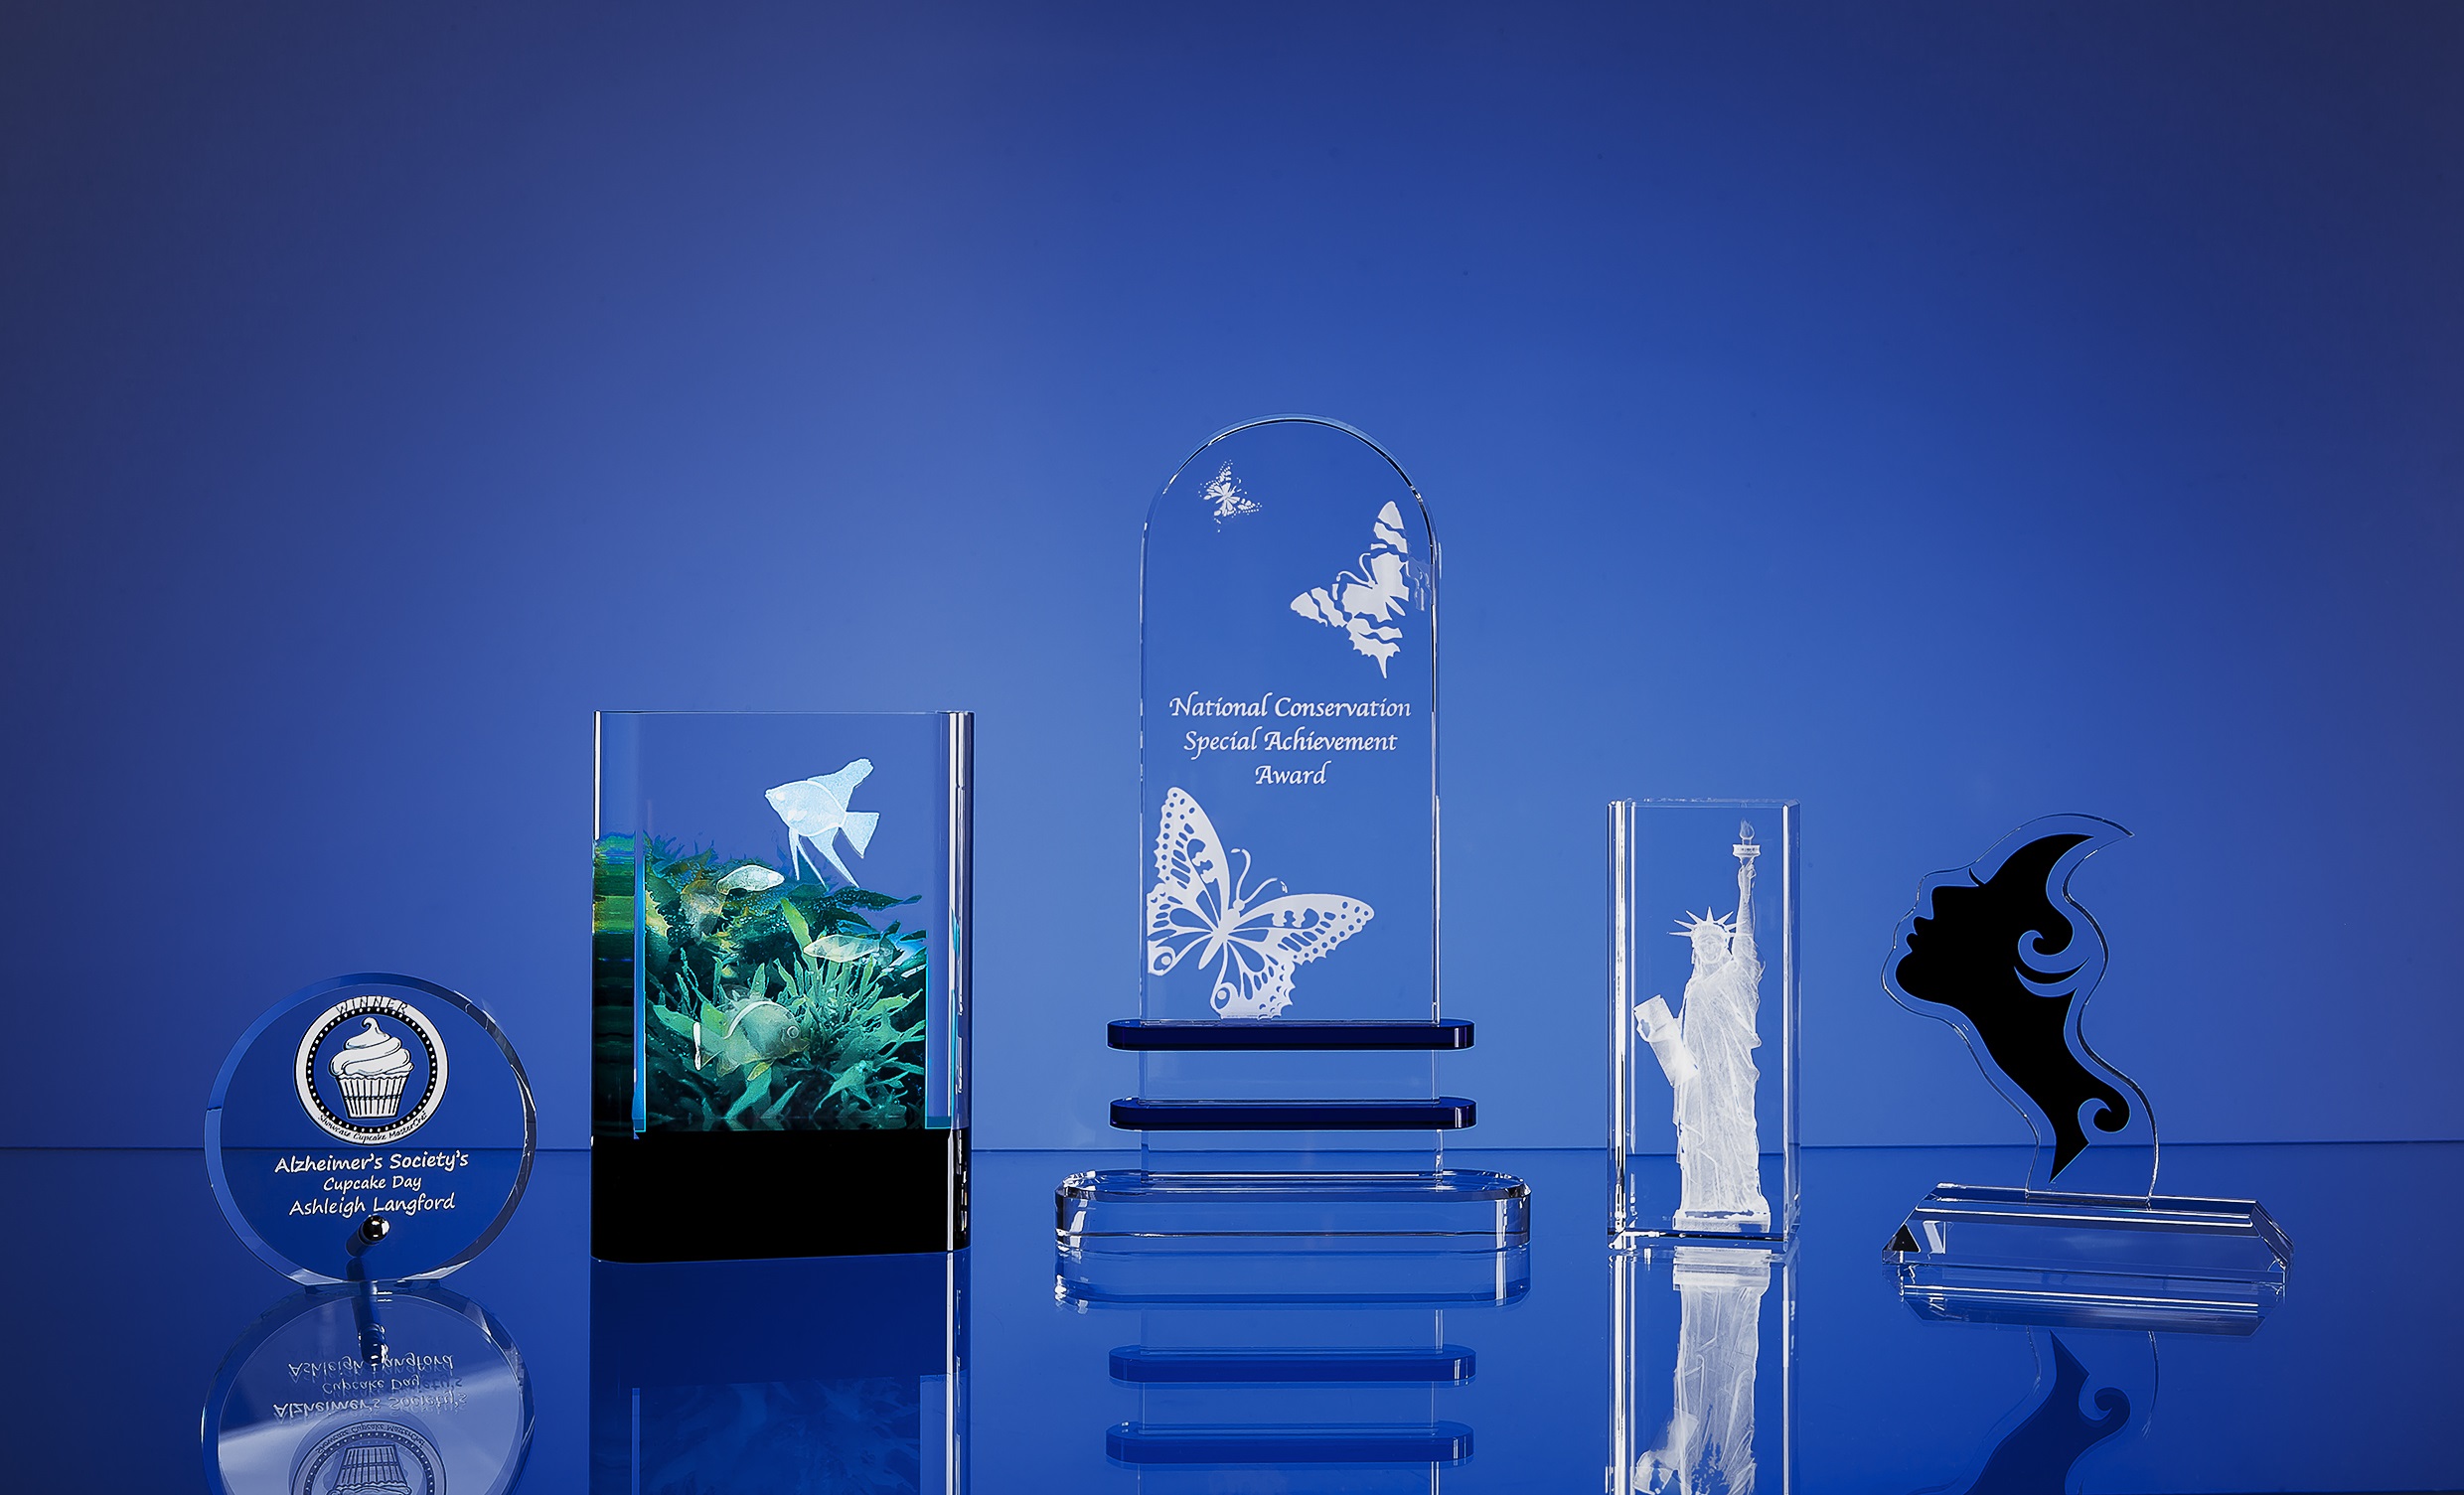
Combination Examples
For real impact you can combine any of these techniques. Our customer service and artwork teams will let you know what’s best for your images and products but here’s some ideas to get you thinking.
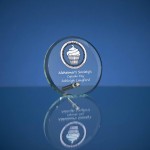
Sand engraving and infill
Great for awards. You can sandblast the logo and text then infill the text with gold, silver, black or blue to make the achievement stand out. It looks particularly stunning on our coloured glass products.
Sand engraving and colour
Try this on your glasses and stemware. You can colour print your club or hotel logo then engrave names or other text as a memento of a special event.
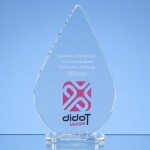
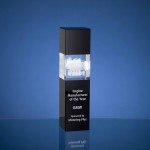
Full colour and engraving
With a full colour print on the back you can make the engraving on the front of your product really stand out. It’s another great technique for awards.
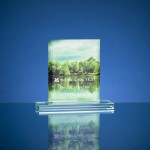
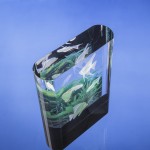
CGi Colour3D (Full colour and Sub surface)
We love this technique as it looks fantastic. Print your chosen scene on the back of the glass then pick out elements to recreate in 3D within it.
Sub surface and infill
Create a subsurface image inside the glass then engrave and infill the text on the front. It’s another great way of making your awards stand out from the crowd.
Inspired to create your own combinations?
Get in touch with our customer service team to see what we can do for you.